Getting started with shaders
In the spirit of learning in public this is a quick guide to getting started with shaders. It’s mostly a list of resources and tools I’ve found helpful in getting started as well as some things I wish I knew when starting. My audience here is someone who is technical but with limited knowledge on the world of graphics and shaders.
I started learning shaders after I left Persona out of curiosity and out of a desire to make rich, interactive experiences that can live on the web via WebGL. I love math and so getting to “paint” / make visual experiences and visual art with math sounded like fun. I’ve ended up really enjoying it along with all the related concepts and technologies. It’s a huge rabbit hole.
The basics
One of the things I initially found confusing was that there are a number of different standards and commercial APIs available for interacting with the GPU. You’ll want to start with OpenGL, which is an open source standard that’s widely used. WebGL is an implementation of OpenGL that’s able to interface with your GPU via the browser. Learning WebGL is a great place to start for writing shaders because of its widespread adoption and community support. You could use C++ or Rust or whatever else you like but I find it’s convenient to get started with the browser.
There are two versions of WebGL. You can just stick to learning regular WebGL in the beginning and ignore WebGL2. They’re similar enough that you focusing just on WebGL will be enough. As of this writing I would also recommend ignoring WebGPU/WGSL, Vulkan, Metal and other more modern, competing standards and get down the basics of shaders with WebGL first.
There are two types of shaders you’ll encounter: fragment shaders and vertex shaders. Learn fragment shaders first since it’s simpler and gets you a lot of great visual feedback quickly. Vertex shaders are useful for when you want to modify the geometry of a 3D model. You can do lots of cool things there, too, but it’s more complicated.
You’ll program in a language called GLSL, which all implementations of OpenGL use. GLSL is a strictly-typed, lower-level language with C-like syntax. It has special built-in functionality for vector and matrix computation.
It’s good to have a basic understanding of the graphics rendering pipeline and what’s happening when you run a shader program. There are a number of good resources online for this, which I’ll list below. You don’t need to go too deep on this for now.
It’s also good to learn or brush up on some basic linear algebra, especially geometric transformations like rotation and translation matrices. You don’t need to be an expert but the more you know the better.
How to run shaders
You’ll run your WebGL shaders in a canvas element in the browser. The process for getting that set up correctly without any libraries involves a lot of boilerplate and it isn’t necessary to understand all the steps involved in order to just get started.
The fastest and easiest thing to do is to use the shader editor from The Book of Shaders: http://editor.thebookofshaders.com/. That will let you play with shaders immediately.
glslCanvas is a tool created by one of the authors of The Book of Shaders that abstracts away most of the boilerplate for running a shader in a canvas element. I use it for my custom Shader component that I use in this post. It’s a great tool for getting up and running quickly.
Three.js is a popular library for running shaders and generally doing graphics work online. It’s also a relatively straightforward way to shaders but involves more boilerplate and is a much bigger library with many more features. The fastest way is to create a plane with a ShaderMaterial that contains your fragment shader. You would want to use this if you’re doing more complex graphics work or want to use vertex shaders to play with the geometry of the surface your shader is rendered on.
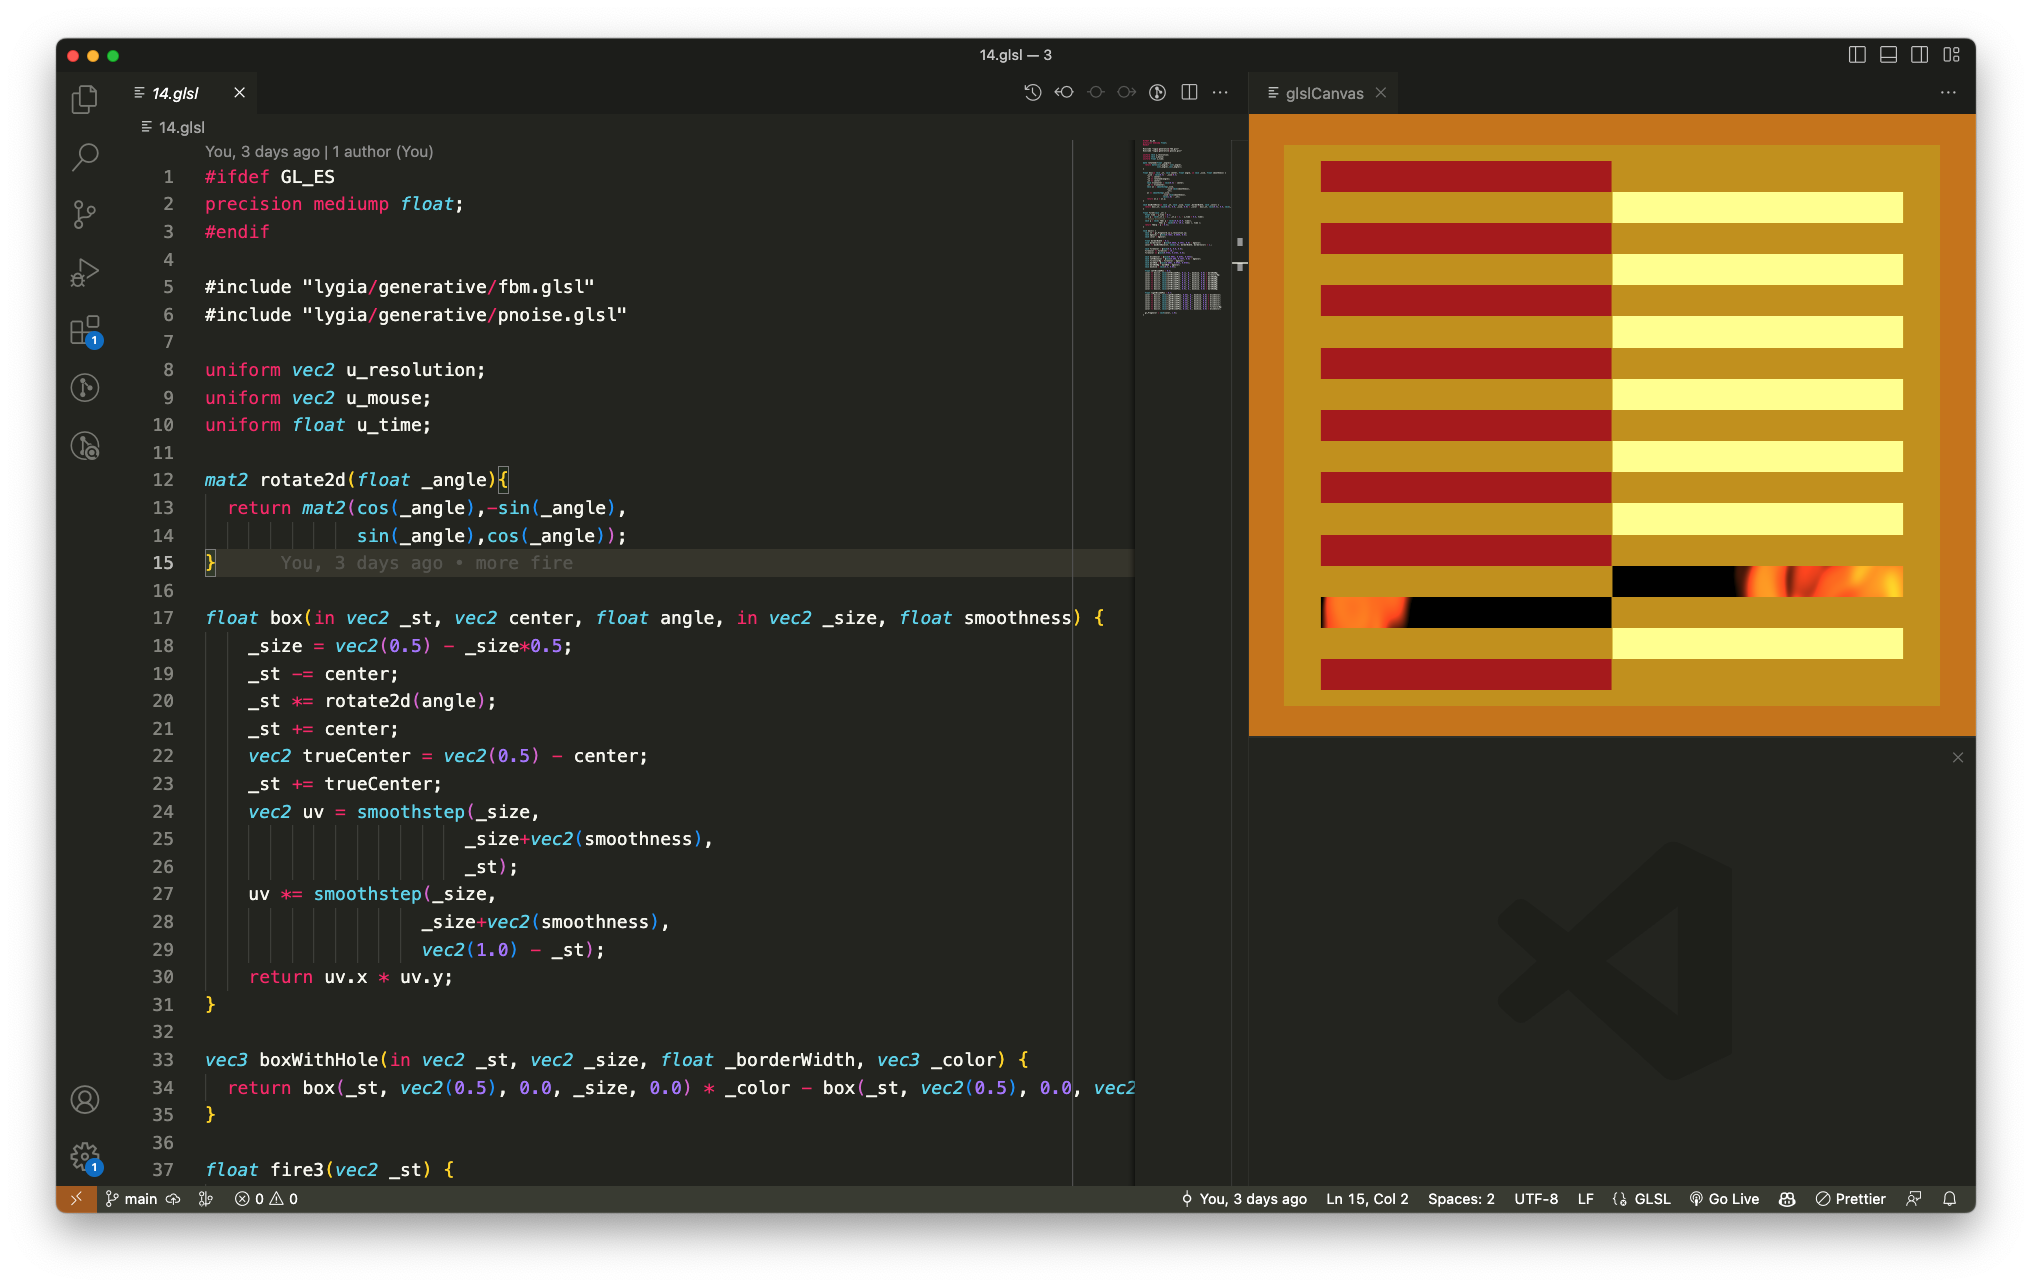
If you’re using Visual Studio Code I’d actually recommend using the glsl-canvas extension which creates a preview for your fragment shaders right in VS Code. It’s built off the same foundation as glslCanvas and written by the same author. I really like using this extension since it allows me to just focus on creating my shader and not think about my dev environment too much.
Helpful resources
The Book of Shaders is by far the best resource for learning about fragment shaders. It hasn’t been updated in a long time but it’s still really useful and gives the best introduction. Spend time to actually do the suggested exercises.
WebGL Fundamentals is a detailed resource on learning WebGL without the help of other libraries or frameworks. I’ve found it useful for learning about higher level concepts as well as some of the details on what’s going on under the hood, eg how to compile and link shaders from JavaScript. I don’t think it’s the most useful resource to dive into at first because in practice you’ll likely want to use other libraries or frameworks when working with WebGL.
Three.js Journey is a fairly involved introductory course for Three.js and WebGL and has some solid units on shaders with practice problems.
Learn OpenGL is great for learning basic graphics concepts. The target for this is not specifically WebGL and so some details may differ in their implementations but many things will transfer over.
ShaderToy is an online shader gallery and community space for graphics enthusiasts. There are tons of examples of incredible shaders and it’s a great resource for learning by example and getting some inspiration.
Thinking in shaders
One of the fun parts about shaders is that it’s an unintuitive and unfamiliar way of programming. You write one program that runs in many different threads at once, each with slightly different parameters supplied to it (eg, things like xy-coordinates for the pixel on the screen). Your task is to write a single program that will work for every pixel value that gets displayed. The color of a pixel is represented as 4-dimensional vector where the components correspond to rgba values between 0 and 1.
The difficulty in thinking in shaders comes from the urge to think about each pixel individually when you need to address every pixel at once instead. In practice you are writing one big function that takes in a variety of parameters (coordinates, time, etc) and then outputs that 4-dimensional color vector. Your function will typically start with a black or white screen and you’ll spend your time trying to add/subtract out different kinds of primtive shapes from the black/white to chisel away at the final image you want. You’ll use shaping functions like the builtin step function to precisely craft the kinds of shapes you want. And then you’ll add/subtract/multiply the primitives together to get the final arrangement.
In general drawing simple things in GLSL can be unintuitive and difficult. To make a circle, for example, you have to think about what equation defines a circle and then you’ll want to put a color in the circle that’s different from the background. The same program that colors a pixel in the circle will also color a pixel the background. How do you do that?
Here’s the code:
  #ifdef GL_ES
    precision mediump float;
  #endif

  uniform vec2 u_resolution;

  void main(){
    vec2 st = gl_FragCoord.xy / u_resolution.xy;
    vec3 color = vec3(0.0);

    vec2 circleCenter = vec2(0.5, 0.5);
    float radius = 0.25;
    float dist = distance(st, circleCenter);
    color += 1.0 - step(radius, dist);

    gl_FragColor = vec4(color, 1.0);
  }
We start with a black background. (Black is vec3(0.0, 0.0. 0.0) while white is vec3(1.0, 1.0, 1.0).) At every point on the screen we’re calculating the distance of that point to the center of the circle (which is at the center of the canvas at (0.5, 0.5)). We then use the step function which is a function that takes two parameters — a threshold and a value — and returns 0 if the value is below the threshold and 1 if the value is above the threshold. So for our circle step(radius, dist) gives us 1 for every point that’s greater than radius away from the center of the circle. If we stop there we get a black circle on a white background because we’re sending every value on the interior of the circle to 0 and every value on the exterior to 1. So we invert those values instead and get our white circle with a black background as shown.
As another example, one of the first shaders I wrote was for this egg below. I decomposed the egg into three different primitives: a big white circle for the egg white, a smaller yellow circle for the yolk and then a noise function for the wobbly egg white edges (since we’re cooking the egg after all). When I decided to make the egg I didn’t know what my noise function would look like, I just knew I’d be writing the egg white in polar coordinates and then perturbing the radius with some kind of noise that smoothly changed as a function of time and the angle.
Here’s the code below. Notice in the egg function how I start with a white circle for the egg white, perturb the edges by modifying the radius of the circle with a noise function and then subtract out a final circle for the yolk. I subtract out the circle here because the color is already white. I could have also subtracted out a white circle and then added in a yellow circle in its place. It’s just a matter of preference.
  #ifdef GL_ES
    precision mediump float;
  #endif

  uniform vec2 u_resolution;
  uniform vec2 u_mouse;
  uniform float u_time;

  // Very commonly used function to generate a pseudorandom number
  float rand(vec2 n) {
    return fract(sin(dot(n, vec2(12.9898, 4.1414))) * 43758.5453);
  }

  // From The Book of Shaders unit on noise
  float noise(vec2 p){
    vec2 ip = floor(p);
    vec2 u = fract(p);
    u = u*u*(3.0-2.0*u);

    float res = mix(
      mix(rand(ip),rand(ip+vec2(1.0,0.0)),u.x),
      mix(rand(ip+vec2(0.0,1.0)),rand(ip+vec2(1.0,1.0)),u.x),u.y);
    return res*res;
  }

  vec3 egg(vec2 _st, vec2 yolkCenter, vec2 whiteCenter, float yolkRadius, float whiteRadius, float seed) {
    vec3 color = vec3(0.0);

    // egg white
    vec2 pos = _st - whiteCenter;
    float r = length(pos) * whiteRadius;
    float a = atan(pos.y, pos.x);

    // wobbly edges
    r += sin(a * 5.0 + u_time) * 0.05 + noise(_st * 10.0 + u_time / 2.0 + seed) * 0.15;
    color += vec3(smoothstep(0.0, 0.07, 1.0 - r));

    // yolk
    vec2 yolkPos = _st - yolkCenter;
    float yolkR = length(yolkPos);
    float yolkA = atan(yolkPos.y, ylkPos.x);
    vec3 yolkColor = vec3(0.0);
    yolkColor.g = smoothstep(yolkRadius, yolkRadius + 0.02, 1.0 - yolkR) * 0.4;
    yolkColor.b = smoothstep(yolkRadius, yolkRadius + 0.02, 1.0 - yolkR);
    color -= color2;

    return color;
  }

  void main() {
    vec2 st = gl_FragCoord.xy / u_resolution.xy;
    vec3 color = vec3(0.0);

    color += egg(st, vec2(0.5), vec2(0.5), 0.91, 4.5, 0.0);

    gl_FragColor = vec4(color, 1.0);
  }
You can copy/paste the code into the online shader editor and comment/uncomment different parts of the code to see how they contribute to the final image.
I hope this was helpful! Questions and comments (especially for mistakes!) are very welcome.